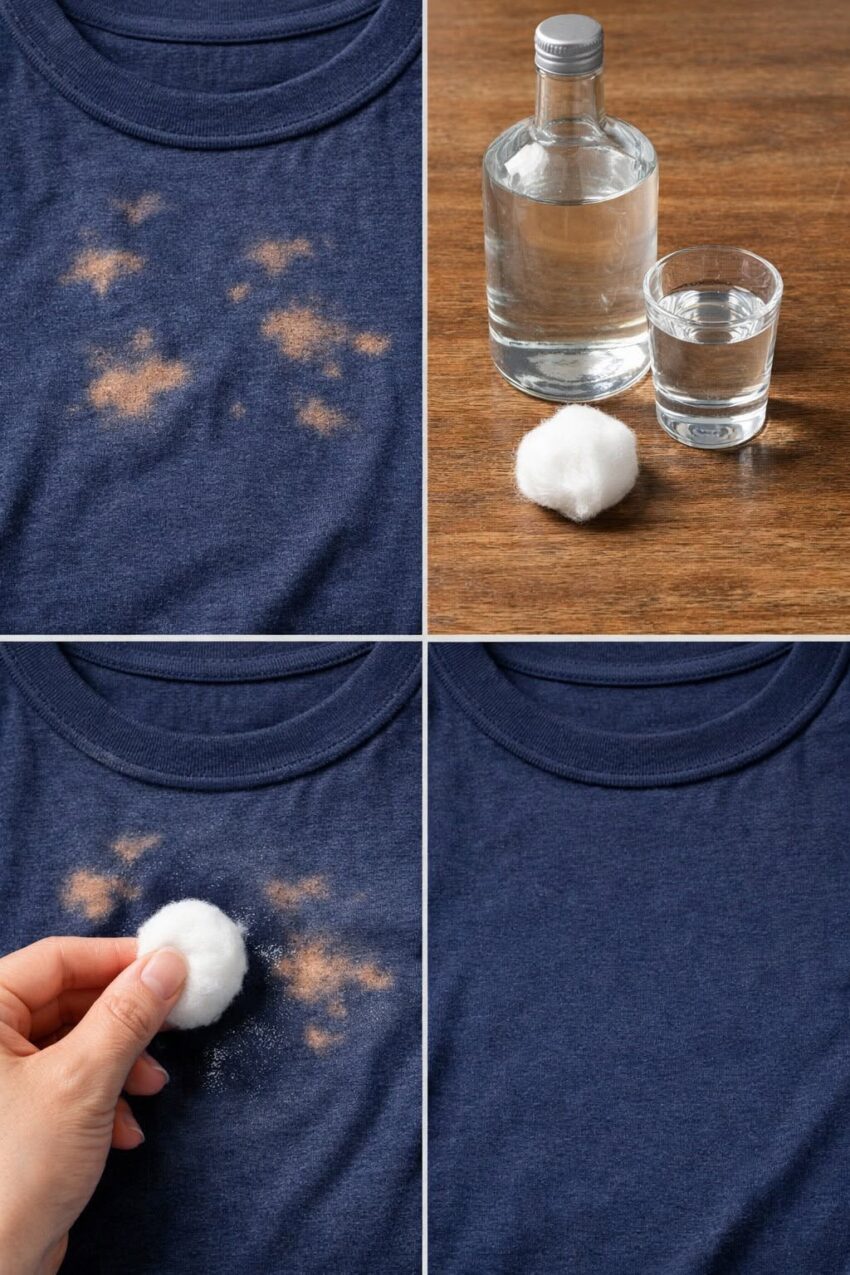
A few drops of bleach can turn a favorite black shirt orange, leave pale spots on dark jeans, or create an ugly patch on an otherwise perfectly good garment. But before you throw it away, take a closer look.
What appears to be a “bleach stain” usually isn’t a stain at all.
Chlorine bleach can strip or chemically alter the dye in the fabric. That means ordinary stain removers generally won’t restore the original color. However, you can often make the garment look much better—or even give it a completely new appearance.
Here are practical ways to rescue clothes damaged by bleach.
First: Don’t Rub the Bleach Spot
If the bleach was spilled recently, act quickly.
Rinse the affected area thoroughly with plenty of cool water to dilute and remove remaining bleach.
Then wash the garment according to its care label.
Important safety warning
Never mix bleach with vinegar, ammonia, toilet cleaner, acids, or other household cleaning products.
Some combinations can release dangerous gases.
Once the garment has been thoroughly rinsed, you can decide which repair method makes the most sense.
1. Use a Fabric Marker for Small Bleach Spots
For a tiny bleach mark, a fabric marker can be the quickest solution.
This works especially well on:
- Black T-shirts
- Dark jeans
- Navy clothing
- Cotton sweatshirts
- Bags and canvas items
How to do it
- Choose a fabric marker as close as possible to the original color.
- Test it on an inconspicuous area first.
- Apply a small amount to the bleached section.
- Let it dry.
- Add additional layers if necessary.
- Follow the marker manufacturer’s instructions for setting the color.
Don’t try to cover a large area with a marker unless you’re deliberately creating a design. The color can look uneven on larger patches.
Best for:
Tiny spots and small splashes.
2. Re-Dye the Entire Garment
If the bleach damage is spread across several areas, dyeing the entire garment can be much more effective than trying to repair each spot individually.
This is particularly useful for dark-colored clothing.
Instead of attempting to recreate the original color only on the damaged areas, you recolor the whole garment so that the bleach marks become less noticeable.
Keep in mind
The result depends heavily on the fabric.
Natural fibers such as:
- Cotton
- Linen
- Rayon/viscose
often respond differently to dye than synthetic materials such as:
- Polyester
- Acrylic
- Some nylon fabrics
Always check the garment’s fiber composition and the dye manufacturer’s instructions before starting.
A useful trick
If a black garment has developed several orange or brown bleach patches, dyeing it black again may make the damage considerably less obvious.
However, previously bleached areas may absorb the new dye differently, so don’t expect every garment to return perfectly to its original appearance.
3. Turn the Bleach Damage Into a Tie-Dye Design
This is one of the most creative ways to rescue a badly spotted garment.
If there are multiple bleach marks, instead of hiding them, you can make them part of the design.
This technique is often called reverse tie-dye.
The basic idea is to deliberately remove color from selected areas to create a pattern.
You can create:
- Spiral patterns
- Cloud-like effects
- Stripes
- Waves
- Splatter designs
- Abstract patterns
But be careful
Chlorine bleach is powerful and can weaken some fabrics.
Work in a well-ventilated area, protect your work surface, wear appropriate gloves, and follow the bleach product’s instructions.
Never combine bleach with another cleaning chemical.
If the garment has already been damaged by accidental bleach, you may not need to use additional bleach at all—you can simply build a design around the existing marks.
4. Cover the Area With an Embroidered Patch
For a larger bleach mark, a decorative patch can be one of the easiest solutions.
You can choose a patch that matches the garment’s style or use something completely different.
For example:
- A floral patch on a denim jacket
- A small logo-style patch on a sweatshirt
- Multiple patches across a shirt
- A decorative patch over a bleach spot on children’s clothing
If the fabric is thin or weakened, stitching the patch may provide a more secure repair than relying only on adhesive.
5. Add Embroidery
A bleach mark can become the center of a small embroidered design.
For example, a pale circular spot could become:
🌸 A flower
⭐ A star
🍃 A leaf
❤️ A heart
☀️ A sun
You can also add several small embroidered elements so that the original bleach spot looks intentional.
This technique is especially useful when you want to preserve the garment rather than simply hide the damage.
6. Use Fabric Paint
Fabric paint can cover a bleach-discolored area while giving the garment a new design.
You can paint:
- Flowers
- Geometric shapes
- Letters
- Abstract patterns
- Small illustrations
For the best result, use paint specifically designed for fabric and follow the manufacturer’s instructions for application and washing.
Tip
Don’t paint only the exact outline of the bleach mark.
A slightly larger intentional design often looks more natural than a tiny painted patch trying to imitate the original fabric color.
7. Make the Whole Garment a New Color
Sometimes the easiest solution is to stop trying to restore the original color.
If you have a light-colored garment with noticeable bleach damage, consider giving the entire garment a new color.
Depending on the fabric, you might choose:
- Navy
- Brown
- Burgundy
- Green
- Black
- Another darker shade
The success of this approach depends on the original fabric, existing dye, fiber type, and the extent of the bleach damage.
A garment that has been heavily chemically damaged may not take dye evenly.
8. Create a Deliberate Color-Block Design
If the bleach marks are concentrated in one area, you can use fabric paint, dye, or appliqué to create a deliberate color-blocked appearance.
For example, a bleach mark across the lower part of a shirt could become the boundary between two colors.
Instead of trying to make the garment look untouched, you’re essentially turning an accident into a design feature.
This can work particularly well with:
- Sweatshirts
- T-shirts
- Denim jackets
- Canvas bags
- Workwear
What If the Bleach Has Actually Damaged the Fabric?
This is an important distinction.
Bleach doesn’t only affect color. Strong or prolonged exposure can also weaken fibers.
If the damaged area feels:
- Thin
- Brittle
- Rough
- Weak
- Easily torn
simply coloring over it may not be enough.
In that situation, consider reinforcing the fabric with a patch or decorative stitching.
For valuable garments, a professional tailor or textile repair specialist may be able to provide a more durable repair.
Can Baking Soda Remove a Bleach Stain?
You’ll often see online advice recommending baking soda, vinegar, lemon juice, or other household ingredients to “remove” bleach stains.
But there’s a fundamental problem:
Once bleach has stripped the dye, there isn’t a conventional stain sitting on top of the fabric waiting to be dissolved.
Trying another chemical mixture usually won’t restore the original dye.
More importantly, don’t experiment by mixing household chemicals with bleach.
If the goal is to recover the garment, focus on:
- Recoloring
- Dyeing
- Patching
- Embroidery
- Fabric painting
- Intentional redesign
rather than trying to chemically reverse the bleach.
What About Hydrogen Peroxide?
Hydrogen peroxide is also sometimes suggested as a way to reverse bleach damage.
It isn’t a reliable method for restoring the original color.
Don’t mix hydrogen peroxide with chlorine bleach or other cleaning chemicals.
Once the dye has been chemically removed, the safest practical approach is usually to work with the altered color rather than attempting another chemical reaction.
How to Choose the Best Repair
| Type of Damage | Best Option |
|---|---|
| Tiny spot | Fabric marker |
| Several small spots | Fabric paint or intentional design |
| Large single spot | Patch or embroidery |
| Many bleach marks | Re-dye the entire garment |
| Dark cotton with random marks | Reverse tie-dye/design |
| Fabric feels weakened | Patch or reinforcement |
| Valuable or delicate garment | Professional repair |
A Simple Method for a Black Shirt
Suppose you accidentally splashed bleach on your favorite black cotton T-shirt.
The spot is now orange.
Here’s a practical approach:
Step 1: Rinse
If the spill is fresh, rinse the area thoroughly with water.
Step 2: Wash
Wash the shirt according to its care instructions.
Step 3: Inspect
Check whether the fabric itself has become weak or brittle.
Step 4: Choose your repair
For a tiny spot, try a black fabric marker.
For several spots, consider a black fabric dye or intentional reverse-tie-dye design.
For a large patch, embroidery or a decorative appliqué may look better.
Step 5: Test first
Whatever method you choose, test it on an inconspicuous section or scrap fabric whenever possible.
How to Prevent Bleach Accidents in the Future
The easiest bleach stain to repair is the one that never happens.
When using chlorine bleach:
- Wear old clothing.
- Keep bleach away from colored garments.
- Use designated cleaning clothes when possible.
- Don’t place bleach bottles on clothing or fabric surfaces.
- Follow the product label’s dilution instructions.
- Never mix bleach with other cleaners.
- Store bleach safely away from children and pets.
If you use bleach while doing laundry, check the washing machine and garment care instructions carefully before adding it.
Don’t Throw It Away Yet
A bleach-damaged garment may look ruined because the original color has changed permanently—but permanent color loss doesn’t necessarily mean the garment is unusable.
A tiny spot can often be disguised with a fabric marker.
A larger mark can become an embroidered design or decorative patch.
Several spots can become the foundation of a tie-dye-style pattern.
And if the garment is otherwise in good condition, dyeing the entire piece may give it a completely different life.
The key is to stop thinking of bleach damage as an ordinary stain. You’re usually repairing lost color, not removing unwanted color.
The Bottom Line
Don’t automatically throw away clothes with bleach marks.
First rinse and wash the garment safely. Then examine the size of the damage and the condition of the fabric.
For small marks, use a fabric marker. For larger areas, consider fabric paint, embroidery, patches, or whole-garment dyeing. If the fabric has been weakened, reinforce it rather than simply covering the discoloration.
And remember the most important safety rule: never mix bleach with vinegar, ammonia, acids, or other household cleaners.
Sometimes the best way to save a damaged garment isn’t to make the bleach mark disappear—it’s to turn it into something that looks intentional.