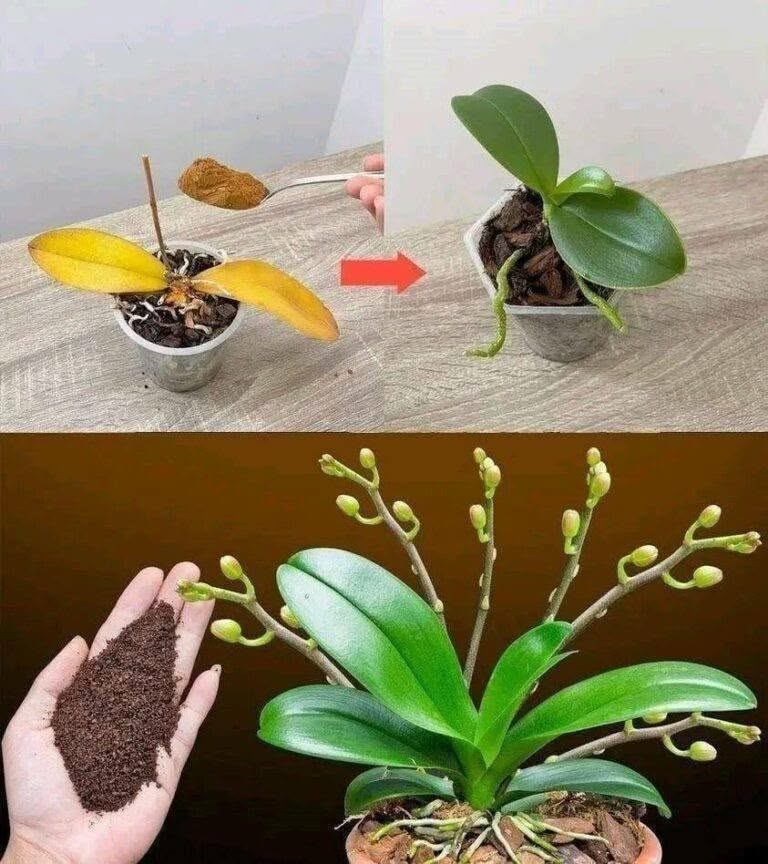
However, a small amount of an appropriate fertilizer, combined with the right light, watering routine, temperature, and healthy roots, can help an orchid reach the conditions it needs for flowering.
The Most Important Thing: Light
Before adding anything to the water, check the orchid’s lighting.
Most commonly grown orchids, including Phalaenopsis, prefer bright, indirect light.
Too little light is one of the common reasons an otherwise healthy orchid refuses to flower.
A good location is usually:
- Near a bright window
- Protected from intense midday sunlight
- Bright enough that the leaves remain healthy green
- Away from prolonged, harsh direct sun that can scorch the leaves
If the plant receives very little light, adding fertilizer is unlikely to solve the problem.
What About the “One Teaspoon” Trick?
If by “one teaspoon” you mean fertilizer, the important question is what fertilizer and how concentrated it is.
A balanced orchid fertilizer can provide nutrients such as nitrogen, phosphorus, and potassium, along with smaller amounts of other nutrients.
But fertilizer should always be diluted according to its label.
Never assume that one teaspoon is the correct amount for every product.
Different fertilizers have dramatically different concentrations, and using too much can damage orchid roots.
A Gentle Feeding Routine
During active growth, many orchid growers use a diluted, complete fertilizer periodically rather than giving a large dose all at once.
A simple approach is:
- Water the orchid appropriately first.
- Prepare diluted fertilizer according to the product instructions.
- Apply it to the growing medium rather than repeatedly soaking the leaves.
- Occasionally water with plain water to help flush accumulated fertilizer salts.
For a specific fertilizer, the label’s dilution instructions should take priority over a generic teaspoon recipe.
What About Banana Water?
Banana peels and banana water are frequently promoted as natural orchid fertilizers.
Bananas contain nutrients, including potassium, but soaking banana peels in water does not create a precisely balanced orchid fertilizer.
Homemade mixtures can also become contaminated or develop unpleasant microbial growth.
If your goal is reliable nutrition, a properly formulated orchid fertilizer is generally a better choice.
Don’t Pour Kitchen Ingredients Into the Pot Randomly
Orchids are particularly sensitive to their growing environment.
Recipes involving large amounts of:
- Salt
- Baking soda
- Undiluted vinegar
- Sugar
- Concentrated fertilizer
can damage roots or disrupt the growing medium.
More nutrients do not mean more flowers.
In fact, excessive fertilizer can cause root damage and create additional problems.
Watering Is Just as Important
Orchids don’t generally want their roots sitting continuously in water.
Water when the plant and growing medium actually need it rather than following a rigid “every two days” schedule.
Depending on the pot, growing medium, temperature, humidity, and season, watering frequency can vary considerably.
After watering, allow excess water to drain away.
Never leave an orchid standing in a container of stagnant water for prolonged periods.
Healthy Roots Come Before Lots of Flowers
If the roots are damaged, rotten, or severely dehydrated, the plant may struggle to flower.
Healthy orchid roots generally appear firm rather than mushy.
Signs of possible root problems include:
- Soft or mushy roots
- Black or severely damaged roots
- Persistent foul smell
- Leaves becoming unusually limp
- Water remaining around the roots for long periods
If the roots are unhealthy, improving the growing conditions is more important than adding a homemade flowering stimulant.
Temperature Can Influence Flowering
For many Phalaenopsis orchids, a difference between daytime and nighttime temperatures can help signal that conditions are changing and flowering may be appropriate.
This doesn’t mean exposing the plant to extreme cold.
Instead, maintain reasonable temperatures and avoid placing the orchid directly beside heating or cooling vents.
What Should You Do With an Old Flower Spike?
After flowering, the flower spike may remain green or become brown.
What to do depends on the orchid and the condition of the spike.
With Phalaenopsis orchids, a healthy green spike can sometimes produce additional flowers from a node. A completely brown or dry spike can generally be removed with clean tools.
Don’t cut healthy roots or leaves simply because you want the plant to flower faster.
Why Your Orchid May Not Be Blooming
Before blaming fertilizer, check these common issues:
Too little light
The plant may be healthy but simply doesn’t receive enough light to support flowering.
Incorrect watering
Both chronic dryness and constantly wet roots can cause problems.
Poor root health
Damaged roots limit the plant’s ability to absorb water and nutrients.
Too much fertilizer
Excess fertilizer can harm roots instead of producing more flowers.
Natural flowering cycle
Orchids don’t bloom continuously. A healthy plant can spend considerable time producing roots and leaves before flowering again.
Plant stress
Major changes in temperature, light, watering, or location can affect flowering.
A Better “Secret” for More Orchid Flowers
Instead of searching for a miracle teaspoon, think of flowering as the result of several conditions working together:
Bright indirect light + healthy roots + appropriate watering + suitable temperature + balanced nutrition + patience.
If those conditions are right, the orchid has a much better chance of producing a beautiful flower spike.
Final Takeaway
A teaspoon of a particular kitchen ingredient cannot guarantee that an orchid will suddenly explode with flowers.
If you want more reliable results, use a properly diluted orchid fertilizer, provide adequate bright indirect light, avoid overwatering, maintain healthy roots, and give the plant time to follow its natural flowering cycle.